Little Star Mandala CAL - PART 3
Welcome to part 3, the last part of the Little Star Mandala CAL. It’s time to finish the star shaped mandala, just in time for Christmas.
Part 3 gives you round 10-11. You will find information, part 1 and 2 in earlier blog posts.
If you need any help, please send me a message on my Instagram @lostincrochet.

Rnd 10: Sl st in second dc, *[1 dc, 1 ch, skip 1 dc] 3 times, 1 dc in last dc before 2ch-sp, 1 ch, (1 dc, 2 ch, 1 dc) in 2ch-sp, 1 ch, 1 dc in first dc after 2ch-sp, [1 ch, skip 1 dc, 1 dc in next dc] 3 times, skip 1 dc, fptr round fptr, skip 1 dc*, repeat *-* across, sl st in first dc to join. (100 dc, 80 x 1ch-sp, 10 x 2ch-sp, 10 fptr)
Rnd 11: Sl st in first 1ch-sp, *[2 dc in 1ch-sp] 4 times, (2 dc, 2 ch, 2 dc) in 2ch-sp, [2 dc in 1ch-sp) 4 times, fptr round fptr *, repeat *-* across, fasten off with an invisible join, or use a sl in first st. (200 dc, 10 x 2ch-sp, 10 fptr)
Blocking
To finish the Little Star Mandala, you need to block it. It’s very important to block round pieces, so the stitches can open up, and the design will show properly.
To block the mandala, you need a blocking mat and some pins. Spray water on it, and put a pin in each c-sp at the star point, let it dry.
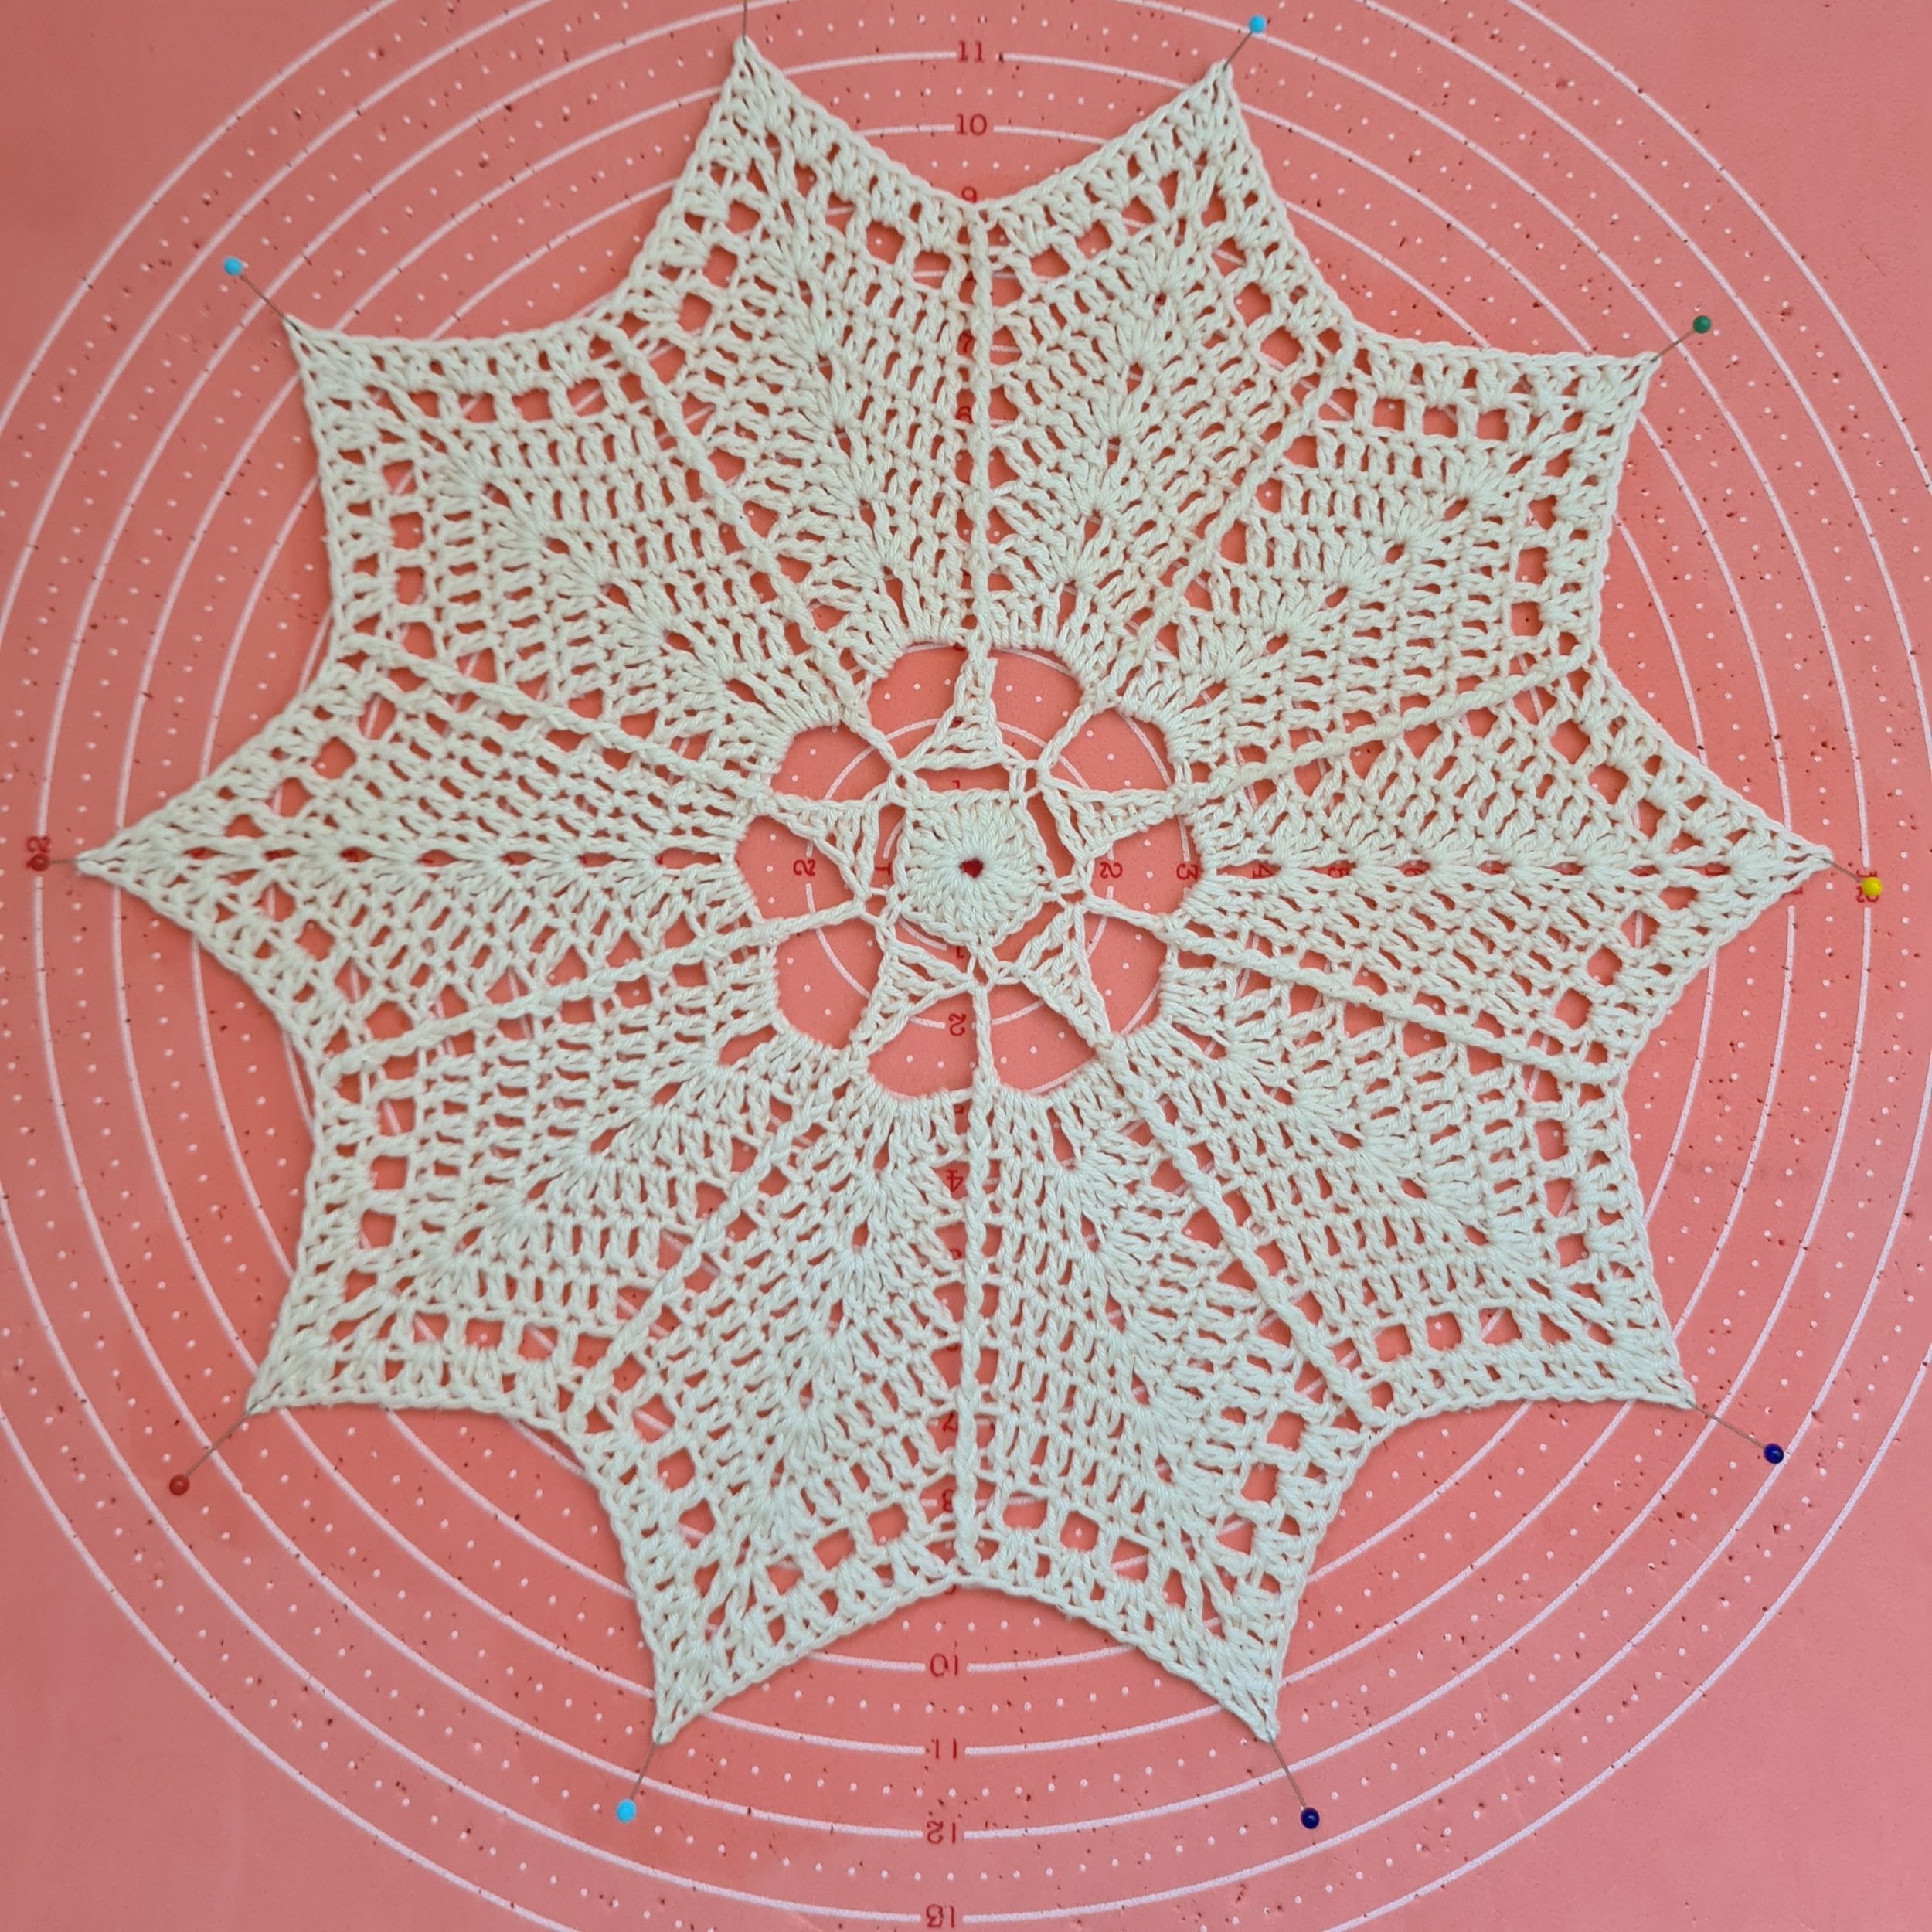
On the blocking mat.
Tag your Little Star Mandala on Instagram #littlestarmandalacal and med @lostincrochet, so we can take a peek at you mandala.
Thank you so much for participating in the CAL, and Merry Christmas to you all!